Shop signs and printing
Check margins and scaling when a print is clipped
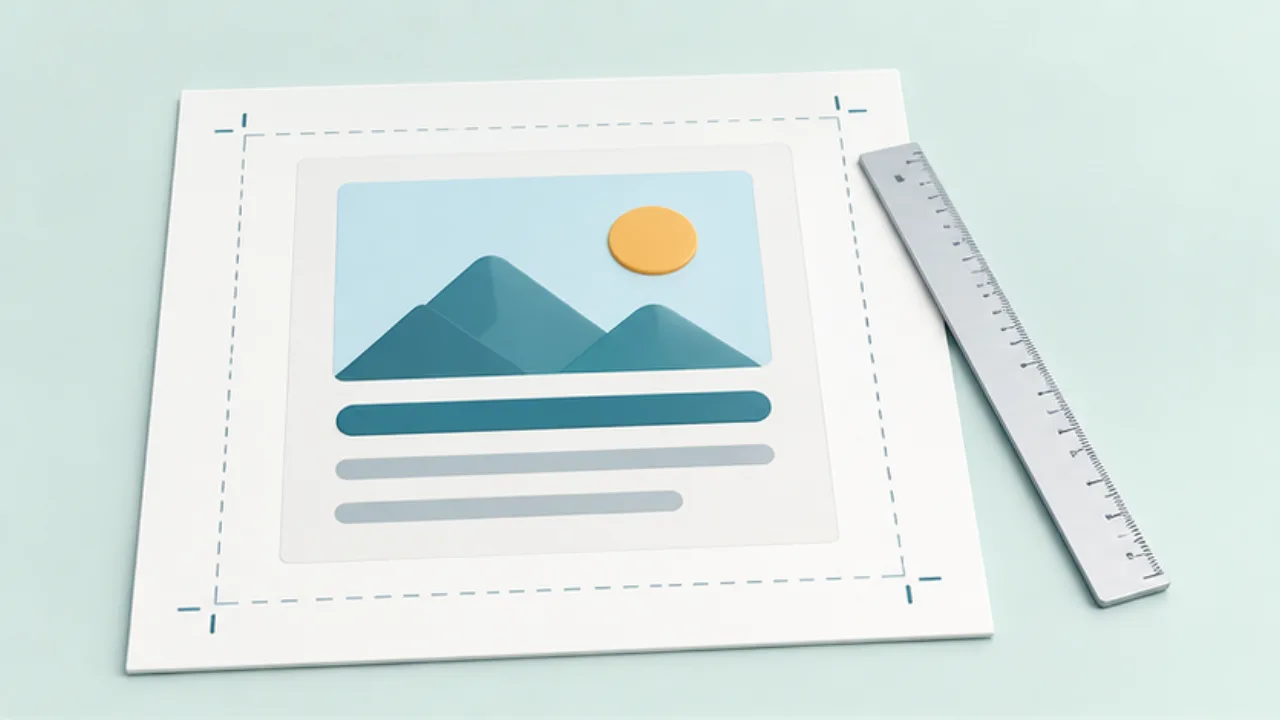
Clipped borders or text may come from a mismatch between the design and the printer's output area. Check paper setup before changing the artwork.
On this page
Match size and orientation
Confirm the document's page size and the print dialog's paper selection. A mismatch can introduce unexpected scaling.
Check the printable area
Borderless support depends on the printer and paper combination. Consult the model's instructions and keep critical text and QR codes inside the usable area.
Choose fitting or exact dimensions
Preview on Mac offers scaling controls. Fitting the page can prevent clipping but changes physical dimensions. If a card must keep a specified size, consider moving content inward instead.
Measure one proof
Inspect all edges and measure any dimension that matters before printing the batch. Record the working settings, then retest when changing the paper or printer.
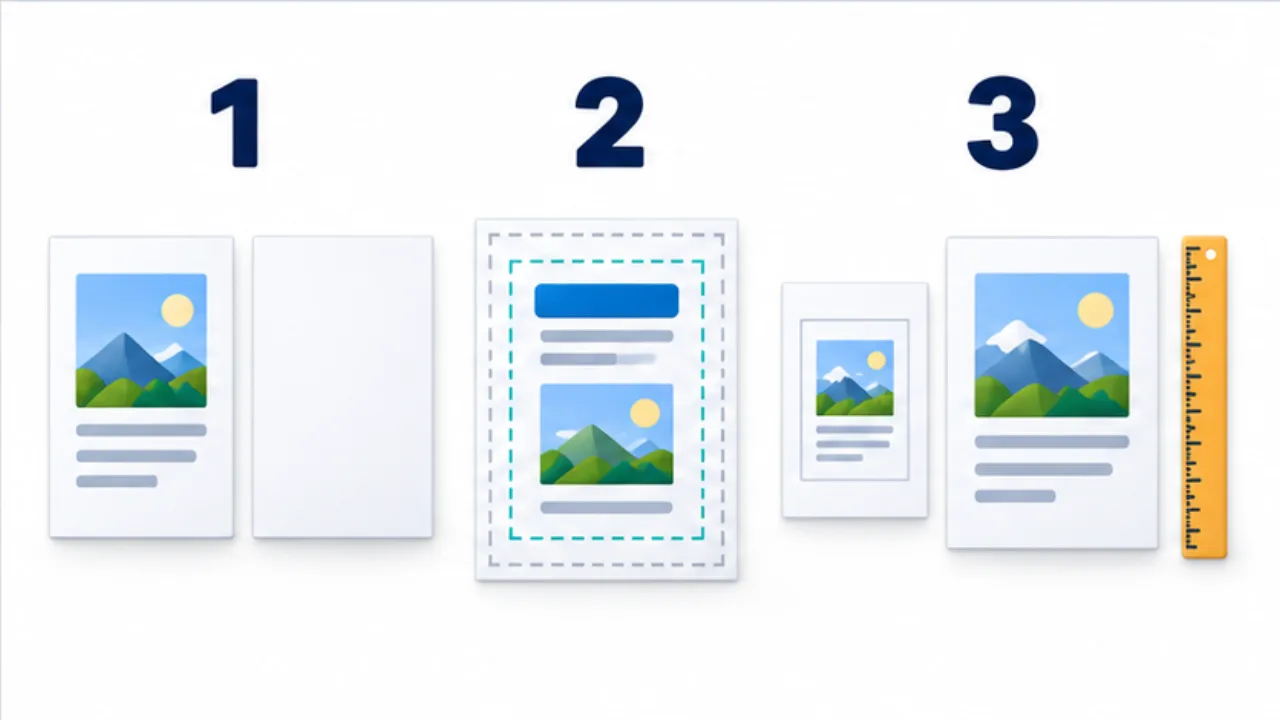
Select the image to enlarge.
- Align the document and printer paper size and orientation.
- Keep important information inside the printable region.
- Distinguish fitting the page from preserving the required physical dimensions.
Keep critical information away from the page boundary
The full design page and the printer's usable output area are different. A border placed at the extreme edge makes even a small loss conspicuous. Keep critical text and QR symbols comfortably inside the decorative boundary.
Check borderless availability for the actual printer and paper. An available option alone does not establish that an exact-size card will retain its intended dimensions and contents. Review paper, orientation, scale, and finished size against the purpose.
Example: a holder insert prints with clipped text
Suppose an insert for a fixed-size holder loses part of its border and wording. First compare the document's page size with the print dialog. Then inspect whether essential content lies too close to the output boundary.
Shrinking the whole page may avoid clipping while changing the insert's physical dimensions. If the dimensions must remain fixed, try moving the outer content inward. If the item is only a general notice with no exact-fit requirement, fitting the page may be suitable.
Choose the priority before printing another proof. Measure the relevant sides instead of judging size from a screen.
Use the pattern as a starting clue
| Observation | First area to inspect |
|---|---|
| One side is heavily clipped | Orientation, placement, and feed-related settings |
| Borders on several sides disappear | Printable area and edge placement |
| Nothing is clipped but everything is smaller | Automatic fitting or scale |
| The preview already shows clipping | Source layout and print setup |
These are investigation starting points, not diagnoses guaranteed by appearance. Compare proofs with one changed setting so the result remains interpretable.
Complete the proof through trimming and placement in its holder. The print dialog is an intermediate representation; the usable finished object is the result you need to assess. Repeat the relevant checks if the paper, printer, or intended dimensions change.