Phones and computers
Use Quick Share between Android and Windows
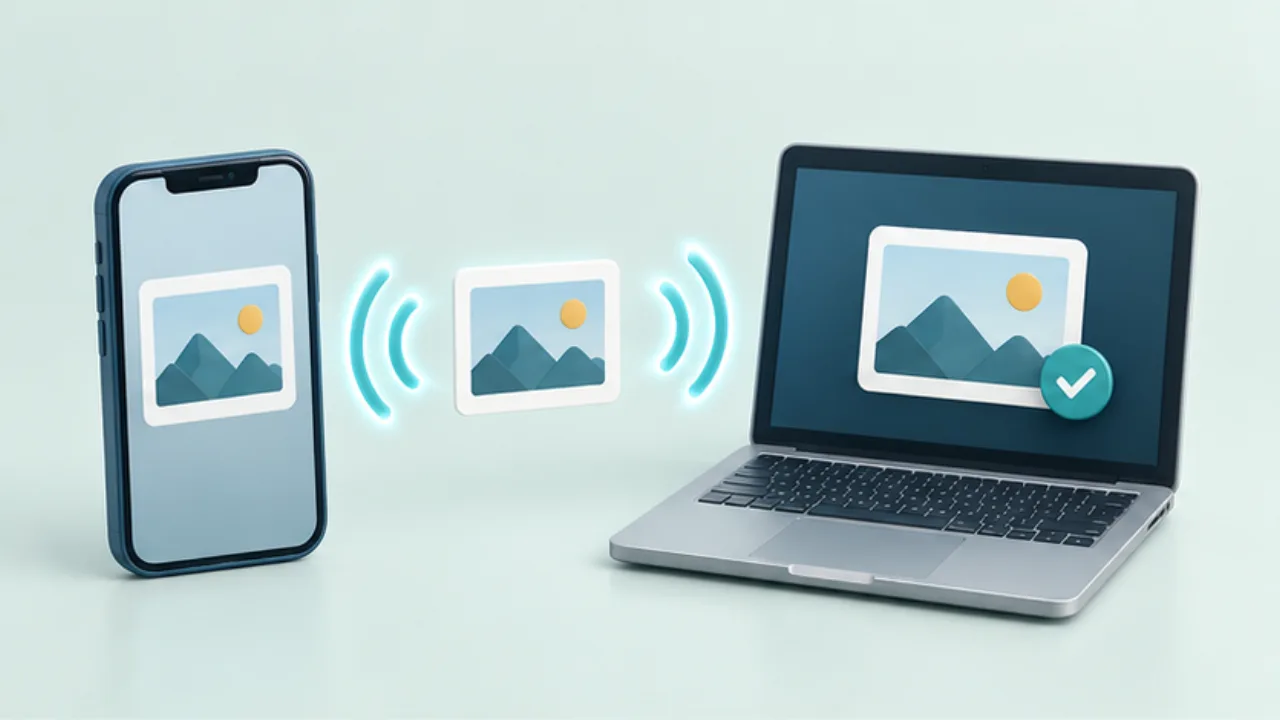
Quick Share can transfer files between supported Android devices and Windows computers. Check the current requirements and correct distribution before setup.
On this page
Prepare Windows
Follow Google's installation guidance, including the separate guidance for Samsung PCs. Confirm operating-system and hardware support instead of assuming any Windows computer is compatible.
Choose visibility
Select the intended audience in the receiving settings. Use a recognizable device name and restore a narrower audience after a temporary exchange.
Send a sample
Choose one harmless file and the intended recipient. Compare confirmation codes when shown. Transfers between your own devices using the same Google Account may be accepted automatically, so a prompt is not guaranteed for every transfer.
Verify receipt
Open the received file and check its name and content. If discovery fails, investigate visibility, Bluetooth, the network, and application state. Some managed networks restrict communication between devices; follow the network's rules rather than disabling protections indiscriminately.
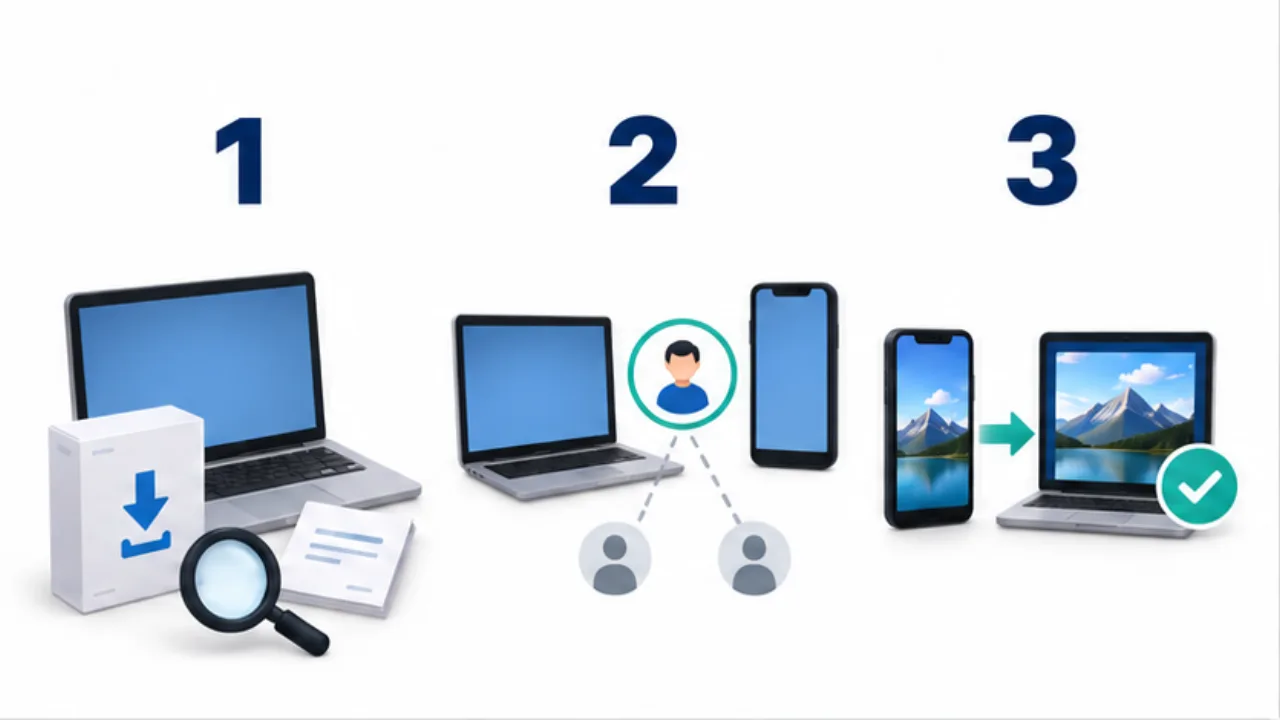
Select the image to enlarge.
- Check the official download and requirements for the Windows device.
- Verify who can send and which device will receive.
- Send a small file and open it on the recipient.
Separate discovery from successful receipt
Seeing a device, establishing a connection, and saving a file are distinct stages. Looking for a download folder will not solve a device that never appears. Conversely, after a completed transfer, inspect the destination before changing visibility settings.
Prepare a recognizable name for your computer so a list of nearby devices is easier to interpret. Match the selected entry with the physical receiving device. If broader visibility is needed temporarily, decide which exchange it serves and restore the appropriate scope afterward.
Example: move photographs into a Windows document
Suppose you want to use Android photographs in a document on Windows. Start with one harmless image and send it to the intended computer. Open the received file and inspect orientation, subject, and the detail needed for the document.
Once that route works, select the real photographs and note the expected count. The receiving folder may already contain older images. Organize this delivery into its project folder and compare names and content before inserting pictures into the document.
A successful transfer does not prevent accidentally using a similar photograph received on another day. Treat communication success and selection of the correct material as separate checks.
Investigate the stage that stopped
| State | First area to inspect |
|---|---|
| Computer does not appear | App readiness, visibility, and connection requirements |
| Computer appears but progress stops | Requests or status shown on both devices |
| Transfer stalls partway through | Connection state and whether a small sample behaves similarly |
| Transfer completes but the file is missing | Receiving location and the expected filename |
Use the same harmless sample while testing changes, so results remain comparable. Changing many settings together makes it difficult to identify what helped.
After the exchange, restore any temporary receiving setting and keep device names clear for the next use. If support requirements or screens differ from an earlier setup, consult the current official guidance instead of treating remembered steps as definitive.