Files, images, and PDFs
Understand an image's transparent background

A logo that appears on white may contain white pixels, or the viewer may simply be showing transparency against a white canvas. Test before editing.
On this page
Change the background
Place the image against both light and dark backgrounds. A checkerboard is often a transparency indicator, but it can also be baked into an image. A different background helps distinguish the two.
Export in a suitable format
PNG and WebP support transparency. Ordinary JPEG does not preserve an alpha channel, so choose a background when exporting to it. Renaming the extension cannot add transparency data.
Inspect the edges
After background removal, check hair, thin lines, and translucent shadows. Edges that looked clean on white can show a pale fringe on a dark background. Refine the selection when necessary rather than hiding the problem with a thumbnail.
Test the actual placement
Inspect the image inside the target page or print layout. If transparency is unnecessary, a delivery copy with the intended background can simplify handling. Preserve the editable original for future uses.
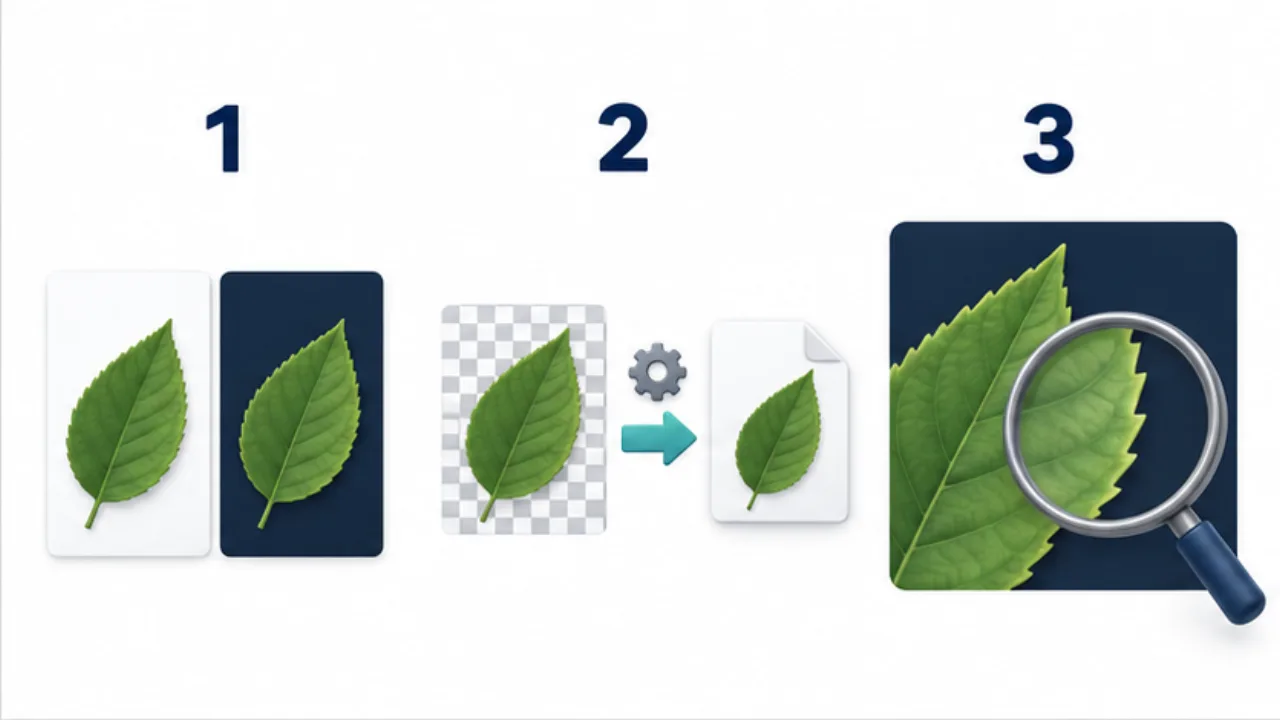
Select the image to enlarge.
- Compare the transparent area on light and dark backgrounds.
- Export using a format and settings that retain transparency.
- Inspect fine detail, translucent shadows, and unwanted halos.
Distinguish white pixels from an empty background
A logo drawn on white paper keeps its white rectangle when placed on colored paper. A shape cut out around the logo lets the paper underneath show through. This is a useful way to distinguish white image pixels from transparent areas.
Both can appear identical in a white viewing window. That window simply does not provide enough contrast to show the difference. Test another background before removing anything: a background-removal operation might also affect white lettering or patterns that belong to the design.
Example: place a logo on a dark notice
Suppose a logo worked on a white page but now needs to appear on a dark notice. A solid white rectangle around it suggests a different investigation from a thin pale fringe around its edges. Check whether the first is part of the source background. For the second, examine the cutout boundary.
If white lettering disappears on a light placement, review the foreground and background combination before treating transparency as the cause. Different symptoms can look like the same “bad logo” problem when viewed only as a small thumbnail.
When editable artwork is available, export a version suited to the intended placement. If you only have a small delivery image, see whether a suitable source is available before repeatedly modifying that copy. Finally, inspect thin lines and letters at the actual size of use, as well as in an enlarged editing view.
Compare the stages of the workflow
| Where the problem appears | What to inspect |
|---|---|
| The editor already shows a white rectangle | Source background and layers |
| Export introduces a background | File format and export options |
| Only one placement looks different | Its background and display behavior |
| Dark backgrounds reveal a pale fringe | Cutout edges and translucent areas |
A transparent image depends on what appears underneath it. If the design needs separate versions for light and dark backgrounds, name them by intended use. Include that context when handing over the files. Saying only that an image is transparent does not tell another person which background will make its lettering readable.