Files, images, and PDFs
Relate image pixels to printed dimensions
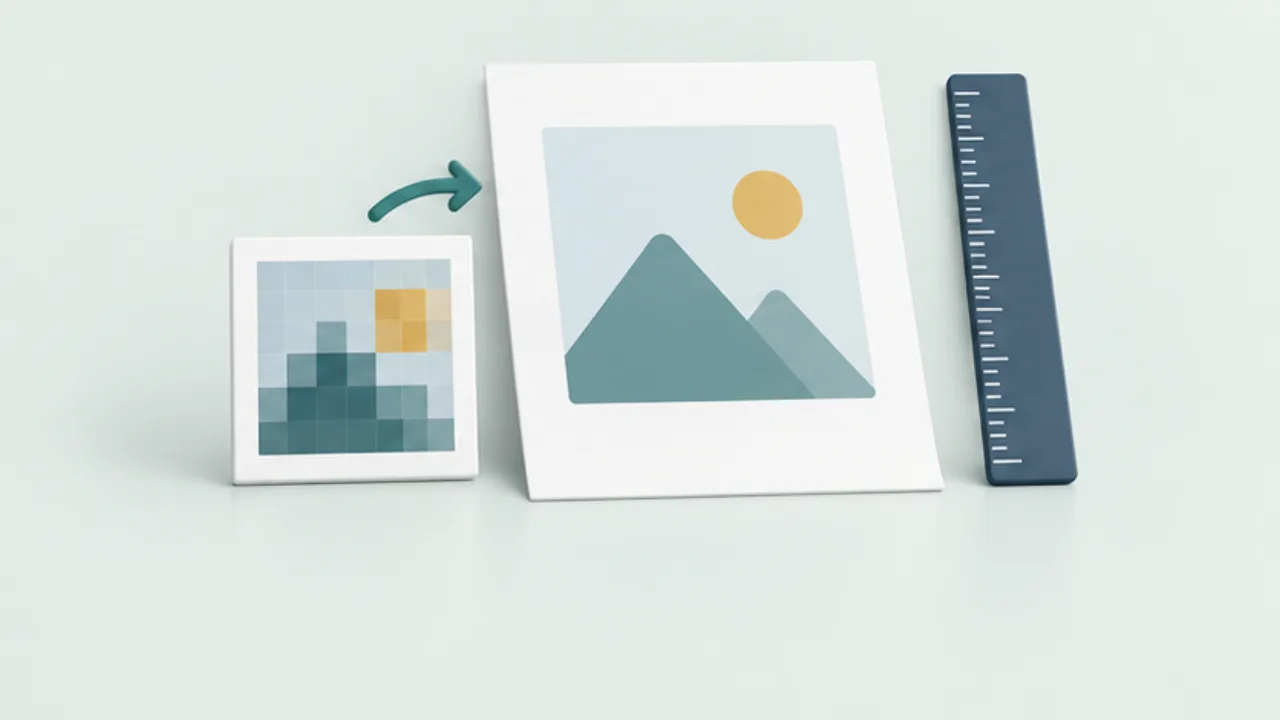
An image that looks large on screen may appear coarse when printed across a larger area. Check pixel dimensions and intended physical size separately.
On this page
Inspect the pixel grid
Record width and height in pixels. Spreading the same pixels over more paper reduces the number per unit of length. Changing resolution metadata is different from resampling the image.
Decide the intended size
A small product photograph and a poster illustration have different requirements. Follow a print provider's specified dimensions and resolution when supplied. Avoid treating one resolution value as sufficient for every viewing distance and type of content.
Check cropping and scaling
Preserve proportions and evaluate the pixels remaining after cropping. Stretching a small crop does not recover the original detail. For text and logos, suitable vector artwork may be preferable when available.
Print at the intended dimensions
Use the planned paper and scaling, then inspect from the expected viewing distance. Check labels and fine details as well as the main subject. The numeric settings and the readable printed result should agree.
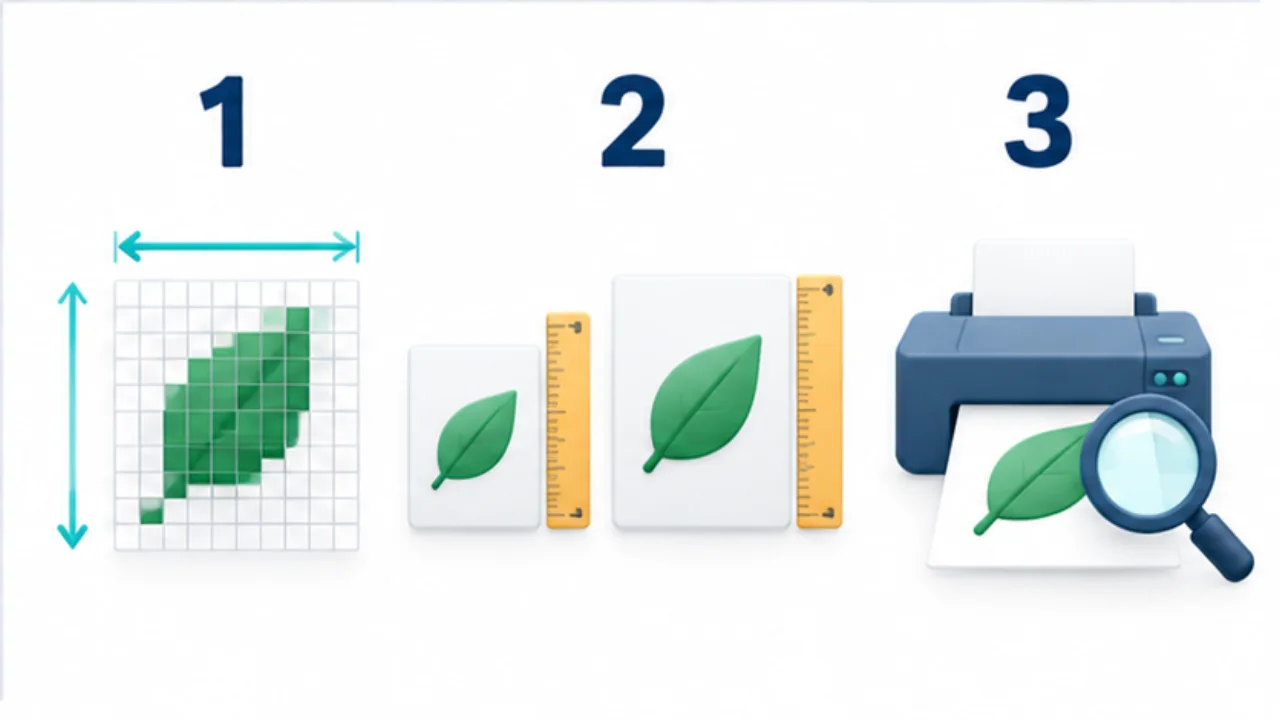
Select the image to enlarge.
- Check the source image’s pixel width and height.
- Decide the physical size and crop needed on the page.
- Inspect a printed proof for sufficient detail and legibility.
Imagine arranging pixels across paper
Think of an image's width as a row of colored squares. Place the same row across a short strip of paper or stretch it across a longer strip: each square occupies a different physical size. Increasing the printed dimensions alone does not add information about the original subject.
File size is a separate measurement. Format and compression affect the number of bytes, so a large file is not sufficient evidence that an image will print well at a large size. Start with three things: pixel dimensions, the crop you will use, and the physical dimensions of the placement.
Example: one photograph for a price card and a sign
Suppose the same product photograph will appear on a small price card and a larger sign. The card may only need to identify the product's overall shape. The sign may make surface texture and other small details more noticeable.
Set the intended dimensions for both uses, then place the source image in each layout. If only the larger placement looks coarse, do not immediately crop more tightly and enlarge again. Reconsider the composition. A smaller photo area, a new photograph, or a separate text explanation might serve the reader better.
This is a choice about the image's job. If a product label must be read, an independent text label in the layout can communicate information that a small photographed label cannot. Adjusting a resolution number alone is not a substitute for that decision.
Match the correction to the symptom
| Symptom | First thing to inspect |
|---|---|
| The whole photo looks coarse | Source pixels and placement dimensions |
| Only the cropped detail looks coarse | Remaining pixels and enlargement |
| Text inside the photo is unreadable | Whether the text can be placed independently |
| The subject looks stretched | Whether proportions were preserved |
Review a trial print in two ways: close enough to inspect detail, and from the distance at which people will actually use it. A visible imperfection may be acceptable for the purpose. Unreadable information that the reader needs is a different problem. Define an acceptable result by the image's role, rather than judging only a number in an export dialog.